
Migrating from Atlassian Confluence to SharePoint can feel like a big leap, especially if your teams rely heavily on the collaboration features and structure of Confluence. However, with the right preparation, a structured plan, and tools, you can surely make the transition.
This checklist will walk you through what matters most in Atlassian Confluence to SharePoint migration.
Why Are Companies Migrating From Confluence To SharePoint?
Before we get into the how, let’s briefly talk about the why. Many organizations choose to move from Confluence to SharePoint for reasons like:
1. Improved Integration with Existing Workflows
Companies integrate SharePoint with Microsoft 365 because it allows SharePoint to work with tools like Teams, Outlook, OneDrive, and Office apps.
2. Standardization Across Departments
Organizations with diverse teams may seek a common platform for all departments to improve consistency in how content is managed and shared.
3. Collaboration Tools
SharePoint offers a single place for document management, team sites, and project collaboration, which can simplify workflows for teams previously using both Confluence and other tools.
But migration doesn’t mean dragging and dropping pages. Confluence and SharePoint are built differently, which means that planning is key.
Easy Checklist For Confluence To SharePoint Migration
1. Define the Scope of Your Migration
- What spaces, pages, or content are you migrating?
- Are you moving all historical content, or just active/current content?
- Who owns each space, and are those stakeholders informed?
This stage helps reduce clutter and sets expectations for teams.
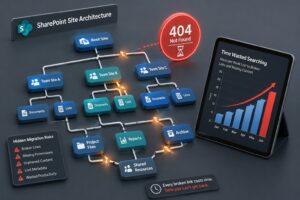
2. Map the Differences Between Confluence and SharePoint
Confluence and SharePoint have different content models. For example:
- Confluence = Pages inside Spaces
- SharePoint = Documents & Pages inside Sites & Libraries
Create a simple mapping table to define where each Confluence space should land in SharePoint.
|
Confluence Space |
SharePoint Site |
|
Engineering Docs |
/sites/Engineering |
|
HR Knowledge Base |
/sites/HR |
3. Decide on Your Migration Method
Depending on your technical skills and budget, you have a few options:
- Manual Copying:
Suitable for small sets of data, but very time-consuming. Each page, attachment, and link must be recreated manually in SharePoint. - Export/Import:
Using XML export from Confluence and importing into SharePoint requires technical scripting. Some formatting, metadata, and internal links may be lost or require rework. - Third-party Tools:
For larger or more complex environments, migration tools can save significant time and reduce errors.
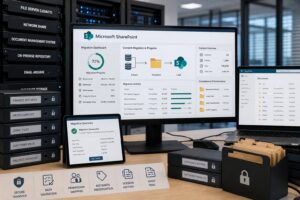
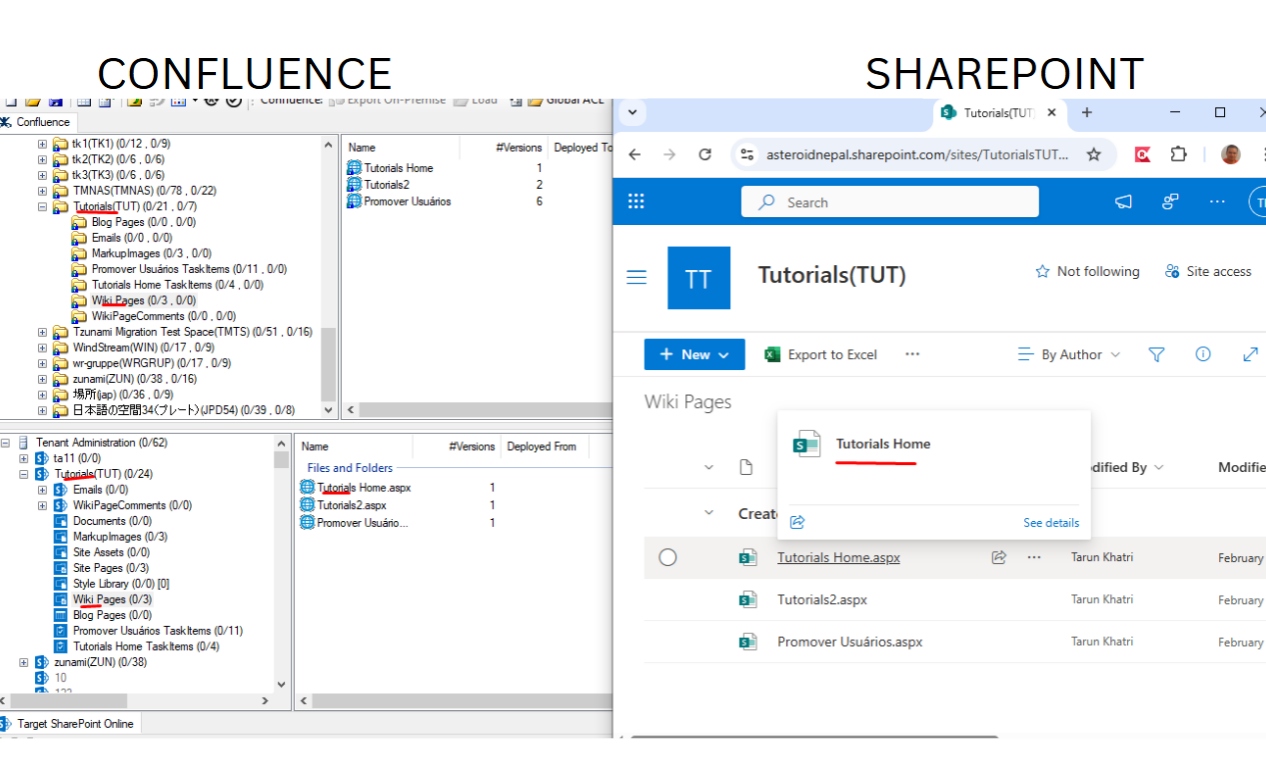
How Tzunami Deployer Can Help?
Tzunami Deployer is a purpose-built migration tool that supports Confluence-to-SharePoint scenarios. Here’s how it addresses common migration challenges:
- ✅ Preserves Metadata:
Titles, created/modified dates, authors, and other page properties are retained during the transfer—important for governance and compliance. - ✅ Maintains Page Structure:
Pages and their hierarchy in Confluence are mapped into the correct SharePoint site structure, maintaining user familiarity. - ✅ Supports Attachments and Embedded Content:
Documents, images, and embedded files from Confluence are migrated and linked correctly in SharePoint. - ✅ Automates Permissions Mapping:
User access rights from Confluence can be mapped to SharePoint permissions, reducing post-migration manual configuration. - ✅ Handles Link Resolution:
Internal links between Confluence pages are automatically updated to their new SharePoint URLs, minimizing broken links. - ✅ Delta Migration Support:
If content changes during the migration window, Tzunami can transfer only what’s new or modified, which is helpful for minimizing downtime. - ✅ Detailed Reporting:
Logs and reports help verify what was successfully migrated and flag issues that need attention.
This option is ideal for organizations with complex content, tight timelines, or regulated environments that require high data integrity.
4. Prepare Your SharePoint Environment
- Create necessary SharePoint sites and libraries in advance.
- Define permissions and groups.
- Set up templates if needed (e.g., standard layouts or metadata tags).
- Align the SharePoint structure with the content you’ll bring over.
This avoids post-migration confusion and minimizes disruption.
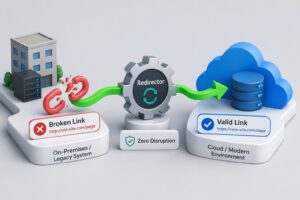
5. Handle Linked Content Carefully
Confluence pages often link to each other. After migration, these links can break.
Plan to:
- Update internal links during or after migration
- Consider using URL redirection or automated link fixers
Preserving link integrity is key to a successful user experience.
6. Test the Migration with a Sample Space
Before going all-in:
- Migrate a small Confluence space to SharePoint
- Validate the formatting, links, attachments, and permissions
- Gather feedback from users who frequently use that content
This helps you catch problems early and build trust across teams.
7. Train Your Users
Even if SharePoint is widely used in your organization, not everyone will be familiar with its layout compared to Confluence.
Offer short guides or sessions on:
- How to use the new site
- Where to find migrated content
- Who to contact for issues
8. Monitor, Clean Up, and Improve
After the migration is complete:
- Double-check user permissions
- Remove test content
- Encourage teams to report any issues with missing content or formatting
Migration is also about setting your teams up for success in the new system.
Final Thoughts
Migrating from Atlassian Confluence to SharePoint is a significant change, but following a structured checklist makes the process manageable. Every organization’s needs are different, so use these steps to your specific environment and goals.